Showing posts with label Acrylic Paint. Show all posts

Wednesday, July 21, 2021

May your birthday be LIT!


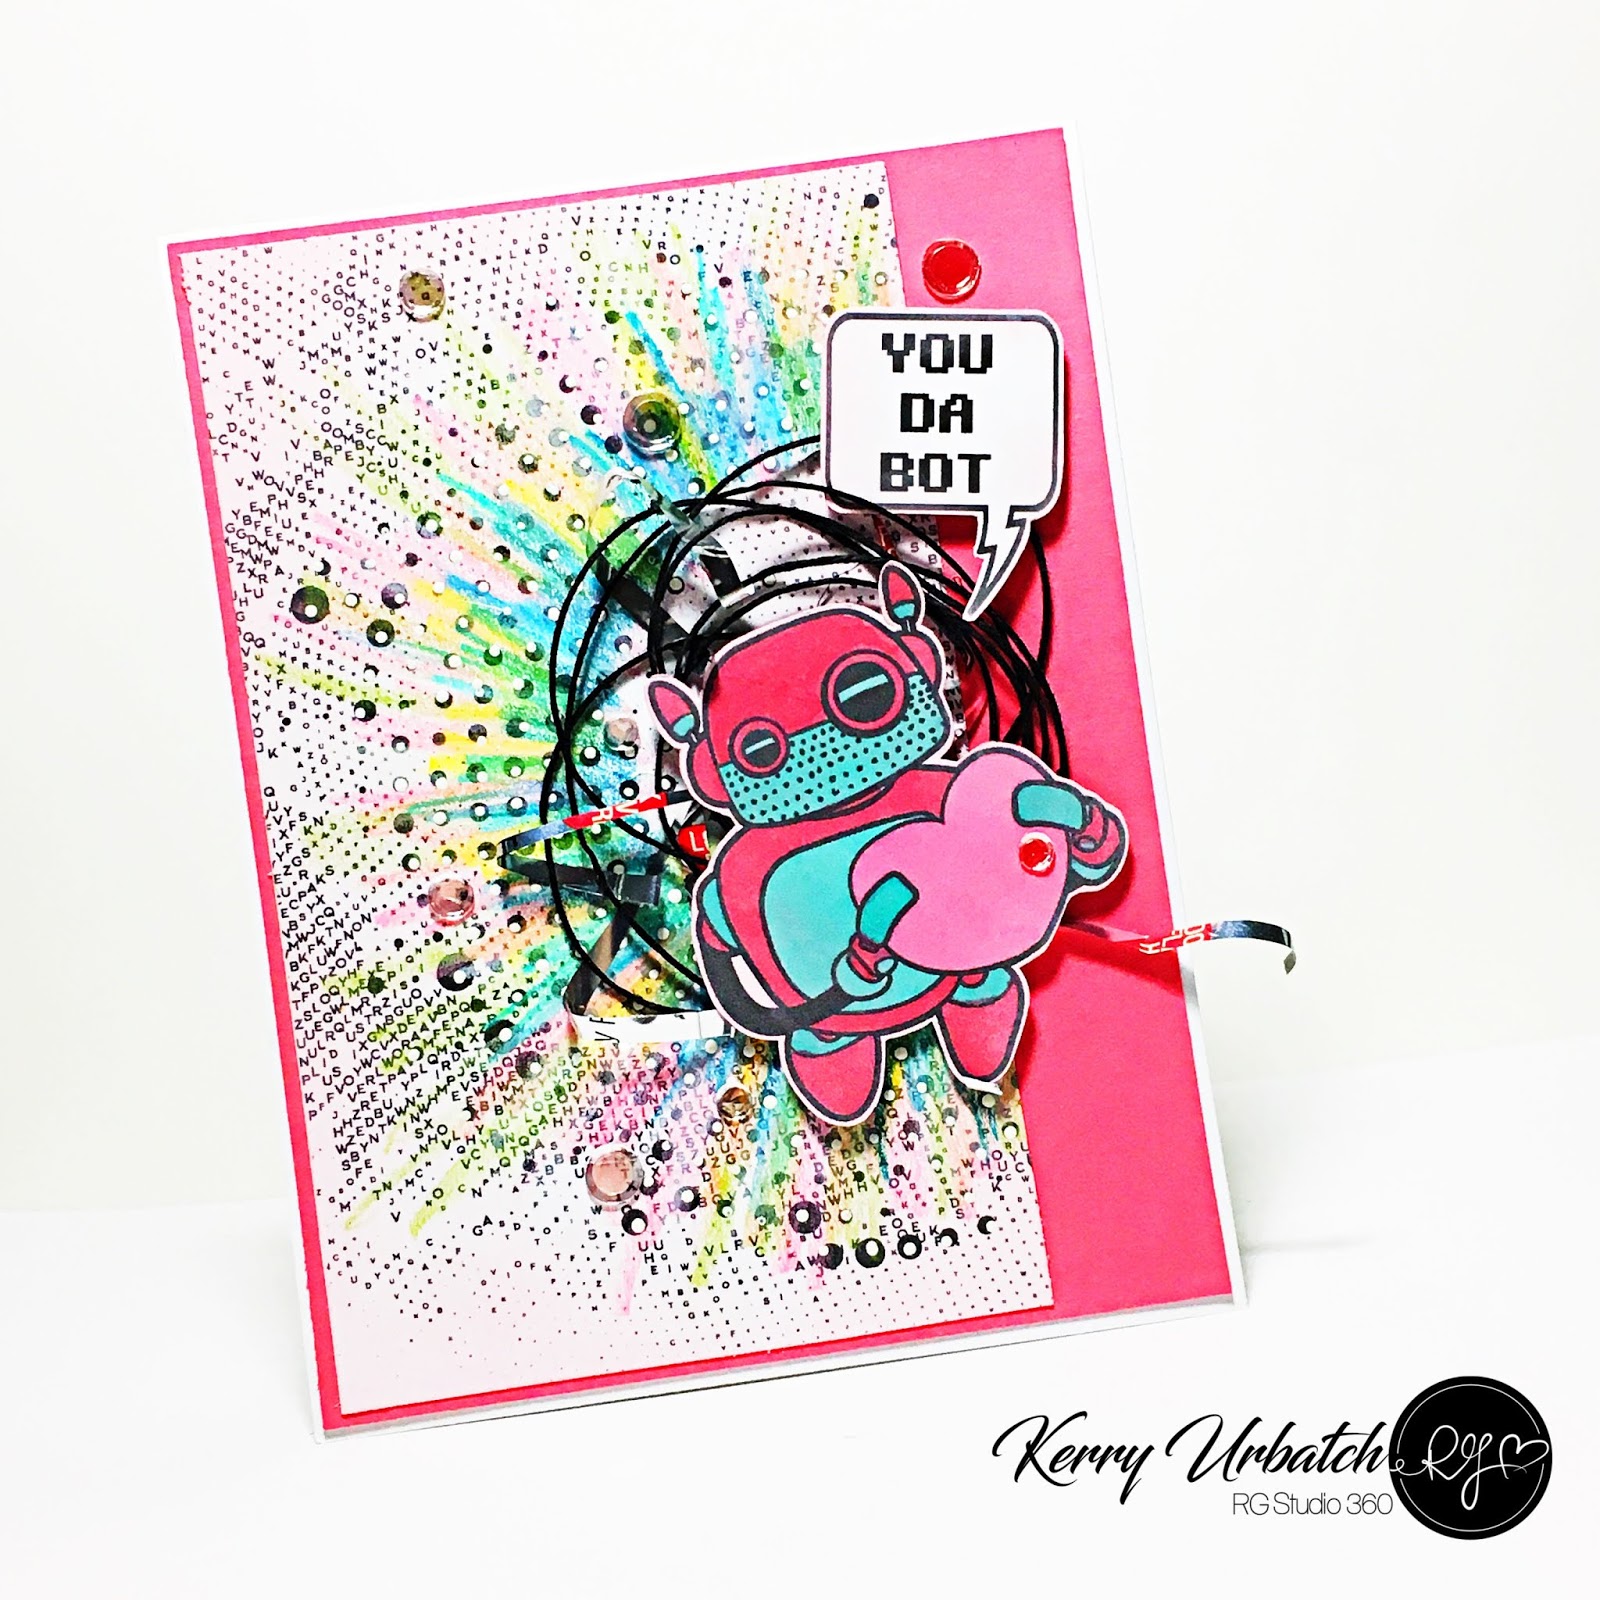
Good morning inky friends!  It's Kerry here and today I'm sharing a sneaky peek for the brand new stamp release at Miss Ink Stamps.  Today we're sharing projects using the fun collection of GNOMES!  Yep, these little gnomes are up to awesome adventures!  I can't wait to share all of them with you but today, I'm revealing my "Perfect Match" card. The Perfect Match stamp set is so fun and whimsical.  It reminds me of the antics of the House Mouse stamps that I love so much.  These gnomes are definitely just as full of mischief as the little House Mouse, don't you think?  

There are THREE new Gnome sets being released this week:  
Birthday Gnomes (prize on IG), 
Thank You Very Much (a twist on Elvis) 
Perfect Match!

If you're interested in joining the fun giveaway, please check out Miss Ink IG HERE.  Today, they're offering a fun giveaway of the Birthday Gnomes set.  Once the sets release, I will provide links to them on my blog post here.  You can also keep an eye out for them on the Miss Ink Stamps website HERE.

If you're interested in checking out how I created the gorgeous background for this card, check out the little videos I created for my TikTok.  If you follow the TOK, please follow me.  I would love to be able to do some lives over there...but I'm at just a few followers and I need at least 1000 to make lives...So until I reach that milestone, I'll share fun little video snips like this!  You can find me over there @stampingbugKerry.  :)

Items used:  Red, orange, yellow, black acrylic ink, Gel press, sparkle fluid, Miss Ink stencil:  Rainbow Sky (the sunburst) 

Copics:  TONS!  PanPastel:  Black and Silver, gloss medium, microfine glitter, gold thread, mini bling

Thanks for hopping over to check out my card!  I hope it inspires you to get creative today!  See you tomorrow for another sneak peek!


Wednesday, November 18, 2020

TCP Sneaky Peek Week Day 2: Love Grows...

Hello there inky friends!  Today is Sneay Peek Day 2 at The Cat's Pajamas and we're sharing sneaks ALL WEEK!  Today's new set is called "LOVE GROWS" and is an adorable sketchy image set complete with some awesome sentiments!  I decided to focus on the sentiments...and some tiny little dots in the set.  

Each day, we'll share sneaks featuring the fun stamps and dies that are available this month!  All of the sets are available on November 17...Just in time for our Black Friday Sales!  
To create my card, I started out by painting a yellow funky sun using yellow acrylic paint.  I then traced around the painting with a black Sharpie then fussy cut the image so that I could use it with my card.  I wanted to highlight the "Sending you Sunshine Smiles" so this sun was important to the design.  I then thought I needed a bit more color on the card so I painted a few stripes of blue acrylic paint onto a white panel and then used my heat gun to dry the paint.  I then added some doodles and dots with the Sharpie and then stamped the little dotty cluster stamp from the set to help tie everything together.  I also used a white paint pen to add some white before applying some sparkly sunshine glitter to the sun.  
I mounted my stamped/painted panel onto a blue layer then mounted onto a bright yellow cardstock base.  VOILA!  A little sunshine is on it's way to someone soon!

Thanks for hopping over to check out my card.  Make sure to head over to my fellow DT teamies' pages to get more inspiration.  Leave some love along the way and you just might win the TCP prize!  See you tomorrow for more yummy inspiration!


Tuesday, November 17, 2020

The Cat's Pajamas Sneaky Peek Week Day 1: Yeti To Party!


Hello there inky friends!  Today is the day we've all been waiting for!  This is the first day of The Cat's Pajama's SNEAKY PEEK WEEK!!!  There are SO many adorable sets in this new release and I'm excited to help share the sneaks ALL WEEK!  

Our first sneak is an adorable and LOVABLE monster BUNDLE called "YETI TO PARTY!".  It's a fun little set perfect for friendship and LOVE!  Check out the dies too!   I just love all the little monsters in this set but I decided to create a card featuring the luvvvvvable monster!  Isn't he CUUUUTE?!  

I created my card by starting out with a fun Gel Press background.  I used blue, red and yellow acrylic paint on my Gel Press and blended it with a foam dauber.  I then applied some sewing machine thread over the inked plate to create swirly fun design.  Next, I pressed my white cardstock over it and lifted the paper to reveal the fun background.  To finish the background off, I doodled and dotted the paper, splattered some ink on the panel and set it aside to dry.  
I colored my monster to match my background paper.  I pulled some Copic markers and went to town coloring the monster and the balloons then added some colored pencil to give some added shading.  After I was satisfied with the coloring, I fussy cut the images and started working on assembling the cardfront.  
Since I had some ripped book paper from a previous project on my desk, I decided to add that to my card.  I love the contrast of patterns this paper provides on my design.  I then stamped the sentiment and doodled a fun edge before cutting and mounting on the page.  


Just look at that fun color!  I just love how this card turned out!!!  Thanks for hopping over to check out my card and I hope you stop by again tomorrow for more fun sneaky inspiration!  

Remember,  Leave a comment on each of the blogs sharing sneaks and you could win a special sneaky-peek prize from TCP!  

See you tomorrow!


Monday, January 21, 2019

RG Studio 360 Beep Bots...Bee Mine Bundle Event...


Hey there inky friends!  I'm back with another fun Beep Bot Valentine project.  This time I worked with an adorable lady bot with some fancy, schmancy shoes!  

RG is offering a fabulous and fun incentive bundle featuring these adorable robots and coordinating image sets.  Check it out!  
With the purchase of the stamp sets:  Beep Bot, Cyberspace and Beep Notes, you'll also receive the digital sets for free and will receive kitted projects for a fun and festive Live Online class.  
You'll make eight Valentine treats, one greeting card and One Love Notes Journal for $99!  Hop over to the class page and sign up HERE today!  There are a limited number of kits available so make sure to join soon.  

To create my card, I worked exclusively with the digital versions of these images.  After placing the Cyberspace background image and scaling it to my perfect size, I printed it out and cut it to size so I could get started adding color.  I added Neocolor I wax pastels, then applied some light ivory paint over some of the dots using a bamboo skewer.  After that dried, I rubbed a bit of light pink Pan Pastel over the edges of the page to create a bit more color and help mute down the bright white of the paper.  Next, I colored that adorable little Robot.  I added some dots on her face to mimic the pattern in the background panel.   
After coloring lady robot, I decided she was just too too bright for the page, so I rubbed some of the Pink Pan Pastel over her to tone her down a bit. 
Next, I assembled m card by laying lady bot over a spiral of black Hemptique twine and silver slivers cut from a Fruit Roll Up wrapper...Yep, you read that right...FRUIT ROLL UP wrappers are mighty shiny and perfect for a galactic card like this!  I finished up the card by adding some translucent silver no-hole sequins and the fun sentiment. 
Alrighty.  Isn't this set the cutest?  I'm working hard on creating kiddie valentines with them because I can't get enough of it!  :)

Thanks for popping over today!  Hope you have a fabulous week! 

Friday, December 14, 2018

Gettin' Down and Dirty!

Hey there inky friends!  I'm finishing up on my Christmas Cards this weekend and wanted to use the candle in the Happy Birthday Stamp Set as a holiday candle.  I thought I'd pull out my Gelli Plate so that I could make some fun backgrounds.  This first card started out with some bright, bright Distress Oxides and then I just couldn't deal with the super bright colors so I had to tone them down a bit by pulling in a little gray. 

To create my background I created several layers: 

Layer 1:  I placed three tiny drops of each color (pictured above) onto my Gelli Plate and used a bamboo scribe to spread the colors in a linear formation.  I then placed the cardstock over the ink and lifted quickly. 

Layer 2:  After that, I spread some Ivory acrylic paint on my Gelli Plate with a paint brush and used the same bamboo scribe tool to scribe some scribbles onto the plate.  I applied the paper again to lift that layer. 

Layer 3:  Next, I spread some more Ivory Acrylic paint onto the Plate then used the largest star stamp in the set to lift some of the paint.  Once satisfied with the design, I lifted the impression onto the paper. 

Layer 4:  I placed three tiny drops of (a gray color) Distress Oxide onto the Plate then added a few drops of Ivory acrylic paint and spread it around on the Plate.  I used the same star stamp to lift more star impressions.  Once satisfied with the design, I lifted this impression onto the paper. 

Layer 5:  I spritzed the paper with water to help some of the distress oxide bleed with the acrylic paint, then used my heat gun to dry the paper.  I brushed a little Ivory Paint onto the paper (just a few stripes here and there) and then used the scribe to scribble off some of the paint. 

The next layers were embellishing layers of glossy accents, microfine glitter and mini star sequins. 

After the background was complete, I stamped the stars and the candle, doodled some drippy parts for the candle and colored with Copic markers.  I added additional glitter and gloss to make it shine.  I brushed some watered down acrylic paint over the colored images to tone them down a bit and to help them coordinate more closely to the background. 
If you take a peek at the close-up, you'll notice the layers and the yummy embellies.  
 I selected some fun and festive fibers and some shiny silver edged ribbon to finish the card off! 
Adding some little blingy elements helped bring more light to this card.  I love the grays and the pops of yellow. 
Thanks for hopping over!  I hope you enjoyed this project and it inspires you to pull out that Gelli plate!  :)  See you around soon!

Monday, November 5, 2018

TCP New Release Continues: Cosmic Christmas

Hey there inky friends!  This week I'm featuring projects using the adorable Christmas Space set called "COSMIC CHRISTMAS".  This set is just too fun and lends itself quite well to gorgeous backgrounds and fun interactive elements!  
To create this card, I started out by brushing some light ivory acrylic paint onto a piece of white cardstock.  After that, I rubbed a bit of black Nuvo Drops over that, then applied some teal and a little sparkle.  I let that dry and then applied some "poofs" of Shimmer Powder. I spritzed the powder with water and let it do its magic!  Next, I used my heat gun to speed up the drying process and then I applied some stamping (the little star trio in the set) using Versafine Onyx ink.  I added some sparkly silver embossing powder (from Hero Arts) and the beautiful background was complete.  
I trimmed up this inky panel and added some foam squares so that I could mount it onto a teal card base.  
Just look at that gorgeous background!  So sparkly, so textural, so fun!
 Next up, I stamped and colored the astronaut with Memento Tuxedo Black ink and Copics.  After that, I applied a penny, some foam squares and then poked a hole into my background paper so that I could help the little fella spin around in space.  I attached another penny to the back side of the card so that he could spin!  Take a look at the spin action (and disregard the background noise-Mason says HI!!)

I used the star Liners CutUps Die to create a little star embellishment, added some sparkly sequin trim and some black twine and finished my card off with some pretty golden pearls.

See you later this week for another fun Cosmic Christmas card! 

Wednesday, December 13, 2017

Baby it's COLD outside!


Happy National Cocoa Day!  I'm excited to be sharing this card featuring the new Christmas Cocoa set from Joy Clair.  I love that this set has TWO different cups/mugs that can be decorated and also has some additional pieces (whipped topping, pile of marshmallows, candy cane, etc) that can make these cups so festive.  There is even a Christmas cookie you can decorate!  The sentiments are fun and versatile with a nice mix of fonts!  Check it out HERE if you want to see the WHOLE set!  You can get this set for 25% off during the hop so make sure to use the code HOTCOFFEE25 to get your set at a discount!
To create this card, I started out by stamping the mug onto some white cardstock.  Then I applied some brushstrokes of blue acrylic paint onto my Gelli Plate.  I pressed my paper against the plate to lift the color then used the same process with some red paint.  I used my heat gun to finish the quick dry process so I could immediately machine stitch some fun meandering lines on the page.  After stitching, I applied a piece of graph paper and 
After adding the stitching and the graph paper, I applied some silver Sharpie marker onto the page in random locations to add more color.  I also doodled some words and some hearts onto the page to make it more fun.  I added a few strips of thin silver washi (and one last mini staple from my stapler).
After that, I stamped the cup again onto white cardstock and added some snowflakes, stars and dots.  I cut the mug out and popped it up on the card then to finish the panel off, I applied some glaze and a little sprinkles of microfine glitter to make it sparkly.  Mounting this panel wonky style onto a piece of red cardstock and sticking it onto a white card base finished this card off!  WAHOO!!!  Love it!

Remember, Take advantage of the discounts at Joy Clair on ANY of our coffee/tea/cocoa sets.  Just use the code HOTCOFFEE25 and you'll get that discount deducted at checkout.  Thanks for stopping by today!  I hope to be back again tomorrow with another fun coffee-loving creation!


Monday, January 9, 2017

Make a Joyful Noise! Joy Clair January Release


Hello and welcome to the Joy Clair January Release hop!  I'm excited that you are here and hope you enjoyed Cornelia Wenokor's project.  I'm here to share my creation using the amazing Joyful Noise Bible Journaling Set.  

Before I get started with sharing my project, I thought I'd review a few details about our hop.  Please check them out!  

The Hop features FOUR new stamp sets that can be purchased right now at Joy Clair!  They include:  


Joy Clair will be awarding TWO lucky hoppers $25.00 gift cards to the Joy Clair Store!  The only requirement is that you visit each stop on the blog hop and leave a comment on their blog post.  You have from today until January 11th at midnight EST to complete the challenge.  If you do, you'll be in the drawing to receive one of the fab gift certificates!  

So now, let's get on with my share:  

I was inspired by the sentiments and music notes in the Joyful Noise Bible Journaling Set.  For some reason, I don't often journal from the Old Testament so it was a joy to page through in search for a perfect verse for this set.  Most of my thoughts and ideas revolved around the obvious:  Psalms,  but I wanted to dig a little deeper...and not focus on a Book that was obvious.  There were a few in the Old Testament so I was called to study Exodus...and that's what I did.
To create my page spread, I first prepared my surface using ivory acrylic paint.  This allows me to stamp and design without worry of bleeding through to the other side.  After drying the paint with my heat gun, I stamped the guitar and the music notes on the page using Versafine Onyx Ink.  I applied WOW clear embossing powder and Gold Embossing Powder to protect it from additional coloring mediums. Next, I watered down some light blue and cream (and a little lime green) acrylic paint and used it as a wash. The embossing of the guitar and the music notes helped protect the images from the watercolor. I added watered down brown acrylic paint for the guitar.  
To add a bit more "age" to the piece, I rubbed a bit of Gold Pan Pastels and Antique Gold Rub-n-Buff on the pages and edges.  To finish the piece off, I added a little ribbon tab for easy reference later.  I also macramed a little book mark for this page.  
Such a beautiful sentiment.  Actually, there are several sentiments so I know it will be a joy paging through my bible, studying His word and searching for just the right verses that call me hang around a little while longer...Yes, that's what Bible Journaling does for me...It helps me linger, reflect and think...that's what we all need sometimes, right?  
In Exodus 15 verses 1-3, Moses and the people of Israel sang.  They sang to the LORD saying: 

"I will sing to the LORD, for he has triumphed gloriously; the horse and rider he has thrown into the sea. The LORD is my strength and my song and he has become my salvation; this is my God, and I will praise him, my father's God, and I will exalt him.  The LORD is a man of war, the LORD is his name."

I spent some time reviewing and studying the Song of Moses to gather additional perspective and I sought some of my favorite bible study sources.  I also searched youtube so that I could HEAR some interesting reflection and a few sermons.  I listened to this pastor's study and sermon and enjoyed it so much.  It's quite lengthy, but worth the listen. 


I hope you enjoyed my bible share today.  I hope it filled your heart and helps you remember to SING!  

Please hop over to Donna's blog to see what she has to share. Thanks for stopping by and remember, if you love this set (or any of the sets released this month) please make sure to go shopping! :)

LINE UP:
Kerry Urbatch (That's ME!)