Showing posts with label Poppies. Show all posts

Wednesday, March 18, 2020

Sending some love...

Hello there inky friends! I hope you're staying healthy during this very difficult time right now.  I'm holed up at home and am trying to spend the time occupying myself with happy thoughts and things that create joy.  I have a few family members across the miles that are stuck inside some elder care facilities and I feel so sad they can't have visitors.   I decided to do something to hopefully bring a little smile and perhaps a little chuckle.  

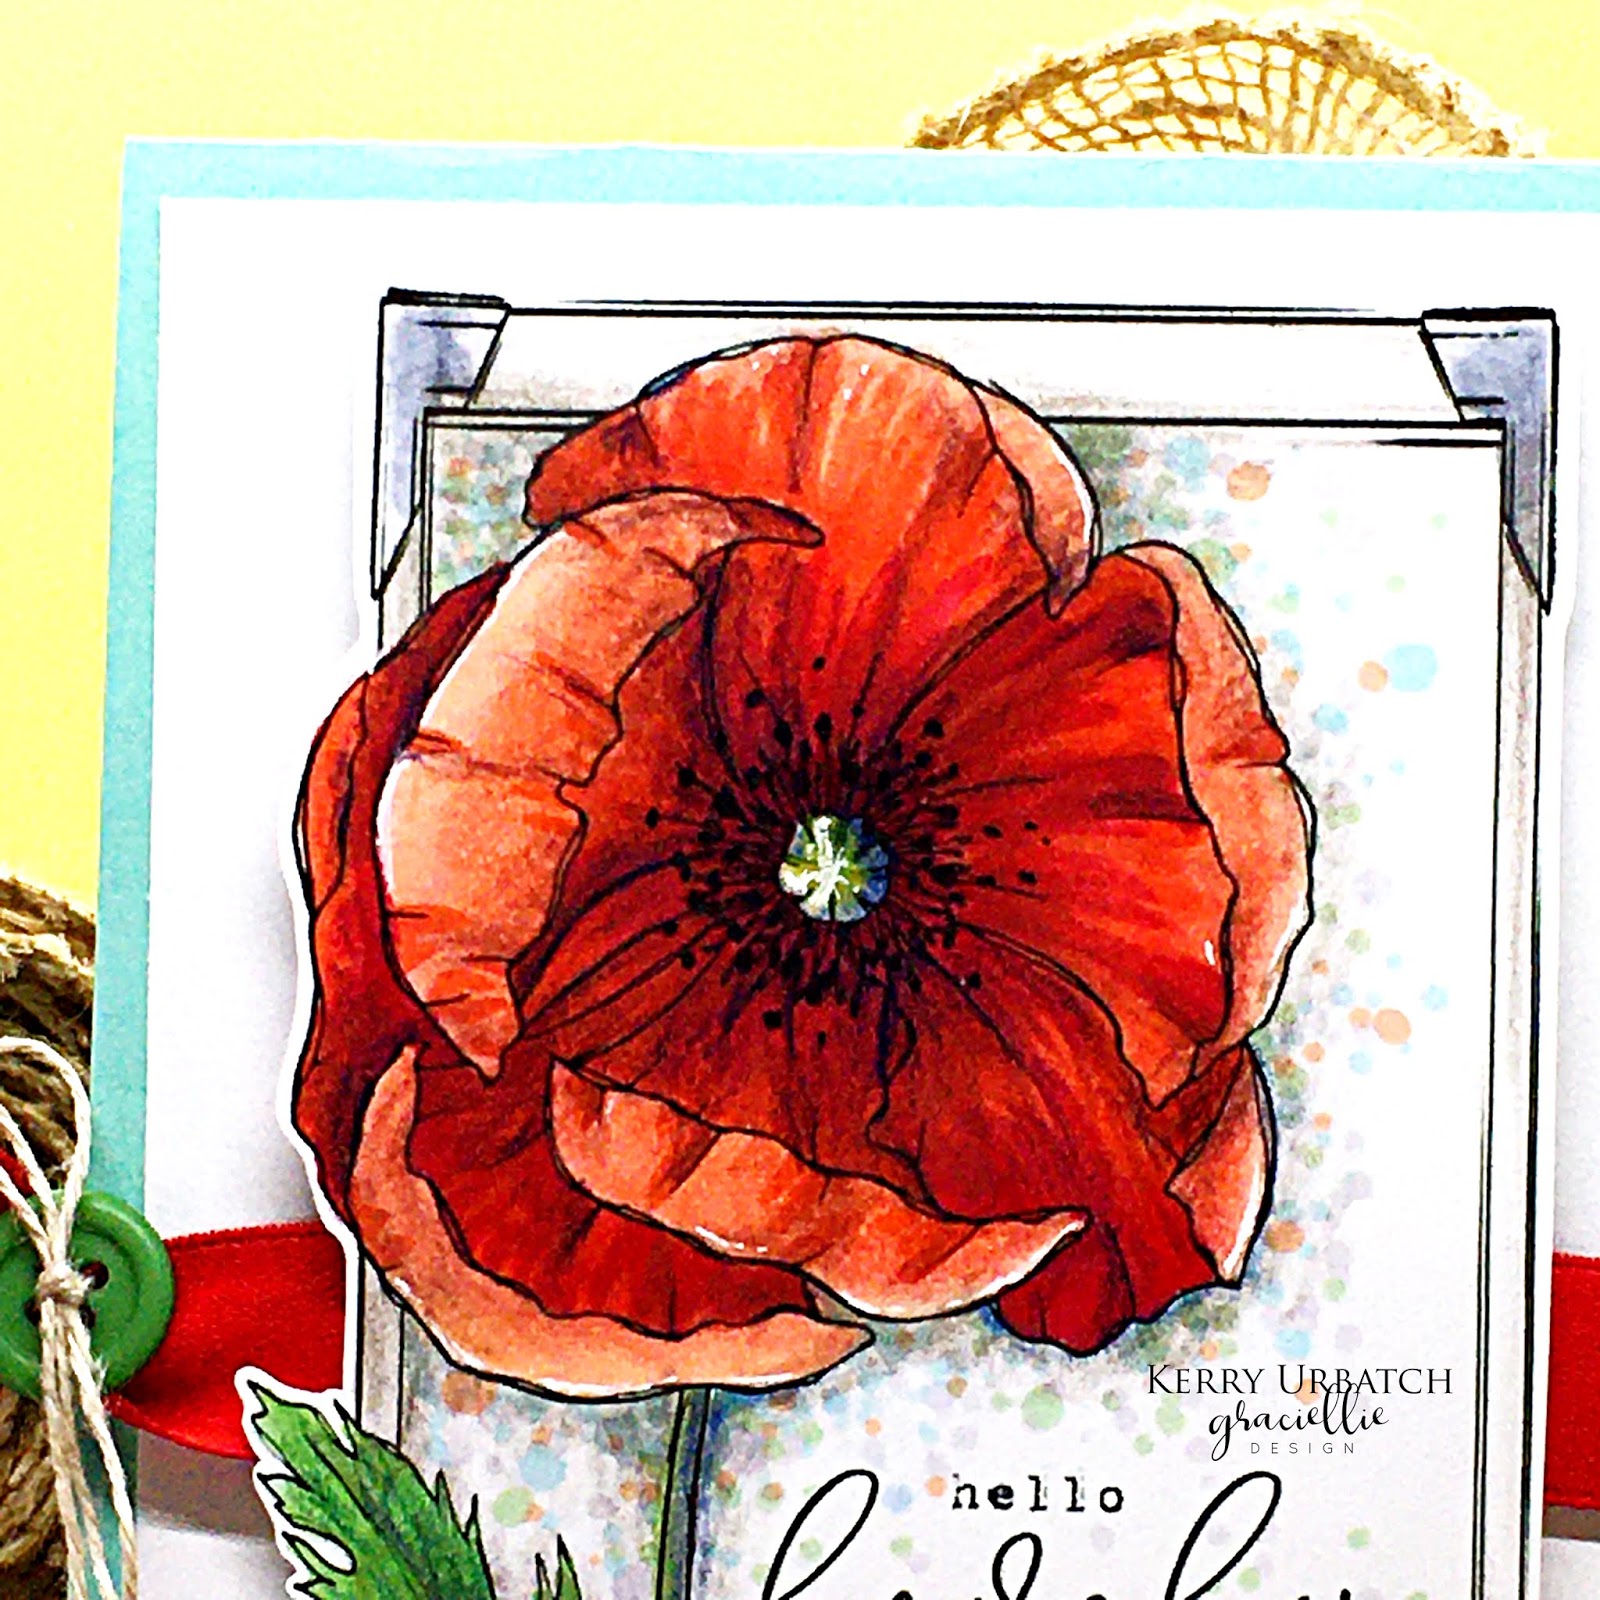
This card was created for my Great Aunt Lori.  I hope the poppies I colored for her make her smile.  I hope the little spring package I sent will give her some happiness and joy during this time stuck in her room.  I hope she whips out that tube of bubbles and blows them all over!  I hope she cuddles the bunny and feels the love we have for her...I hope she enjoys the magazines and the crossword puzzles, as well as the fluffy bunny pen to mark her words.  I hope she savors each and every Jelly Belly and figures out her favorite flavor, I hope she spreads that pineapple Chapstick on and dreams of being in the islands...I hope she feels the love...
This sweet poppy image comes from a stamp set I purchased at the Scrapbook Expo last year.  I had never heard of the stamp company before and was excited to test out a few stamps from this company. 
The poppies were colored with Copics.  :).

Thanks for popping over today and I hope to send you lots of happiness today!  Stay safe...and healthy!

Saturday, February 8, 2020

Gracie's Poppies...A Snapshot

Hello there inky friends!  Today I'm trying to spend the day catching up and getting crafty.  I've been a bit overwhelmed with school lately and have just wanted to come home and veggggg out.  This has left a big empty space in my crafty production and has made for a big old mess to remain on my crafty workspace.  I just don't feel like cleaning it up and it is just taking over...I hope this weekend I can get all "Clean Freaky" and get the job done.  UGHH...If not, it's going to take over.  LOL

Anyway, I worked on computer this week and fiddled around with a few brand spankin new digi sets from Graciellie Design and I printed some "good looks" for this weekend.  SOOOO.... I spent a few evenenings coloring this image and finally this morning, it was complete.  I don't usually color an image over several days, but I just couldn't get out of the funk this week.  I'm glad I took the time with it because I love how it turned out.  Had I not, it would have most likely been a disaster and would have ended up in the trash-ola!

So to create this card, I combined two images from two different sets that were released in January.  I love the themes and they combine so beautifully. 
Sweet Memories Mega Bundle

Beautiful Day
After overlaying the poppy (and the sentiment) onto the frame image, I printed it out and started coloring.  I used a combination of Copics, Colored pencils and Microfine pens to finish the image.  Since I don't pull or plan my color beforehand, I just grab as I go and finish when I feel it looks done.  This strategy inevitably ends up in about 30 markers used and several different darker colored pencils.  That's why I usually don't share the colors #'s I use...I don't really plan it and it would definitely be a longshot to duplicate. 


When I was working on the inside of the flower, I first started out by coloring it gray...and then I thought it probably wasn't gray but yellow...but I didn't want to research it on the internet.  Sooo...I just added some light yellow on it and then went to town on adding some fun black dots.  I've seen those black poppy seed like dots on those flowers...I thought.  HA HA.  That's how I roll. 
 After coloring the flower, I wanted to tie the flower into the background photo frame so I did a bit of stippling with Copics and then used colored pencils to add details, shadows and a little white pen for some highlights. 
After I was done coloring, I took on the chore of selecting the perfect background card base.  I pulled a lot of colors:  mustard, this foamy green, a more leafy green, a pink, a lavender and a peachy red.  Since I wanted to add a red ribbon to the piece, i selected this foamy green to be the backdrop.  It looked the best paired with the image and really pulled out the faint teal stipples in the image. 

So there you have it!  One project down this week, several more to go.  WOO WEE!

PS...  Hop over to Gracie's digi shop this weekend!  She's got a fabulous sale going on and you can pick up so many of her sets for a steal! 

Sunday, August 12, 2018

Sunday Sip...Tealightful...

Hey there coffee/tea/cocoa loving crafters!  It’s Kerry here and I’m back with another Sunday Sip!  This week I was on a RED kick.  Have you ever experienced a “Color Kick” before?  Well, mine usually lasts about a couple weeks and it’s difficult for my brain to grab colors outside of the “Kick zone”.  SOOO…Here ya go.  Two cards on the RED team.  RAH RAH!
I started out inspired by the little poppy-like flowers in the Pinkfresh Studio BIRD WITH FLOWERS set.  Since they were poppies in my mind, I had to color them red.  So, I stamp, stamp, stamped them onto a piece of white cardstock and then colored them (the peeks of white were purposeful) with Copic R14.  After that, I stamped a few cute leaves and colored them with Copic YG06.  I added some shadowing with C-1 and then moved on to stamping the teacup from the Pinkfresh Studio TEALIGHTFUL DAY set (minus the little pattern on the cup) and stamped a few flowers on the teacup.  I also colored them and doodled a bit of a border and some stripes/dots.


I think my mug was inspired by a new mug I recently received in the mail.  It’s a gorgeous HUGE bowl-like mug purchased from Colleen McCall Ceramics (on Instagram HERE) and has a strawberry pattern on the inside.  It’s gorgeous!  I’ll be sharing it on Monday on my Instagram if you care to take a peek!   
To add a bit more whimsy to the card, I stamped the leafy stem on the edge of a green piece of cardstock and then cut it to create a whimsical edge.  I stamped the sentiment from the Tealightful Day Set.
Since I had so much fun and was on a roll, I decided to make another card.  A CAS card and the card that inspires this week’s sketch.  I used the same color theme- but also incorporated some light gray ink for the teacup.   
Since I don’t really have restraint to make a CAS card, I had to add some ribbon and some blingy sequins before attaching the panel to the card base.
I think this is probably a favorite card made this month.  Although it’s simple, I can say that it is perfect for a person who listened to me do a bit of “It’s not fair” whining this weekend.  I thank her for listening and yep, I’ve just gotta suck-it-up Buttercup!  (Hey, wait…Maybe I can make a card for that!) 
I hope you find this sketch inspiring and I encourage you to play along with it!  If you do, just add a link to your card in our inlinkz below!