Showing posts with label Wood Background. Show all posts

Thursday, February 1, 2018

Fall in LOVE...

Hello there Joy Clair friends!  It's time for the February Challenge and we're excited to share some LOVE creations to inspire you to create this month!  As with every monthly challenge, there's a PRIZE in it for one lucky participant! A $25 gift card will be awarded to one participant who hops along with us and participates by sharing a LOVELY creation inspired by the photo above.  Simply add a link to your creation on our Joy Clair Blog Post HERE

Are you ready?  Let's get started!  
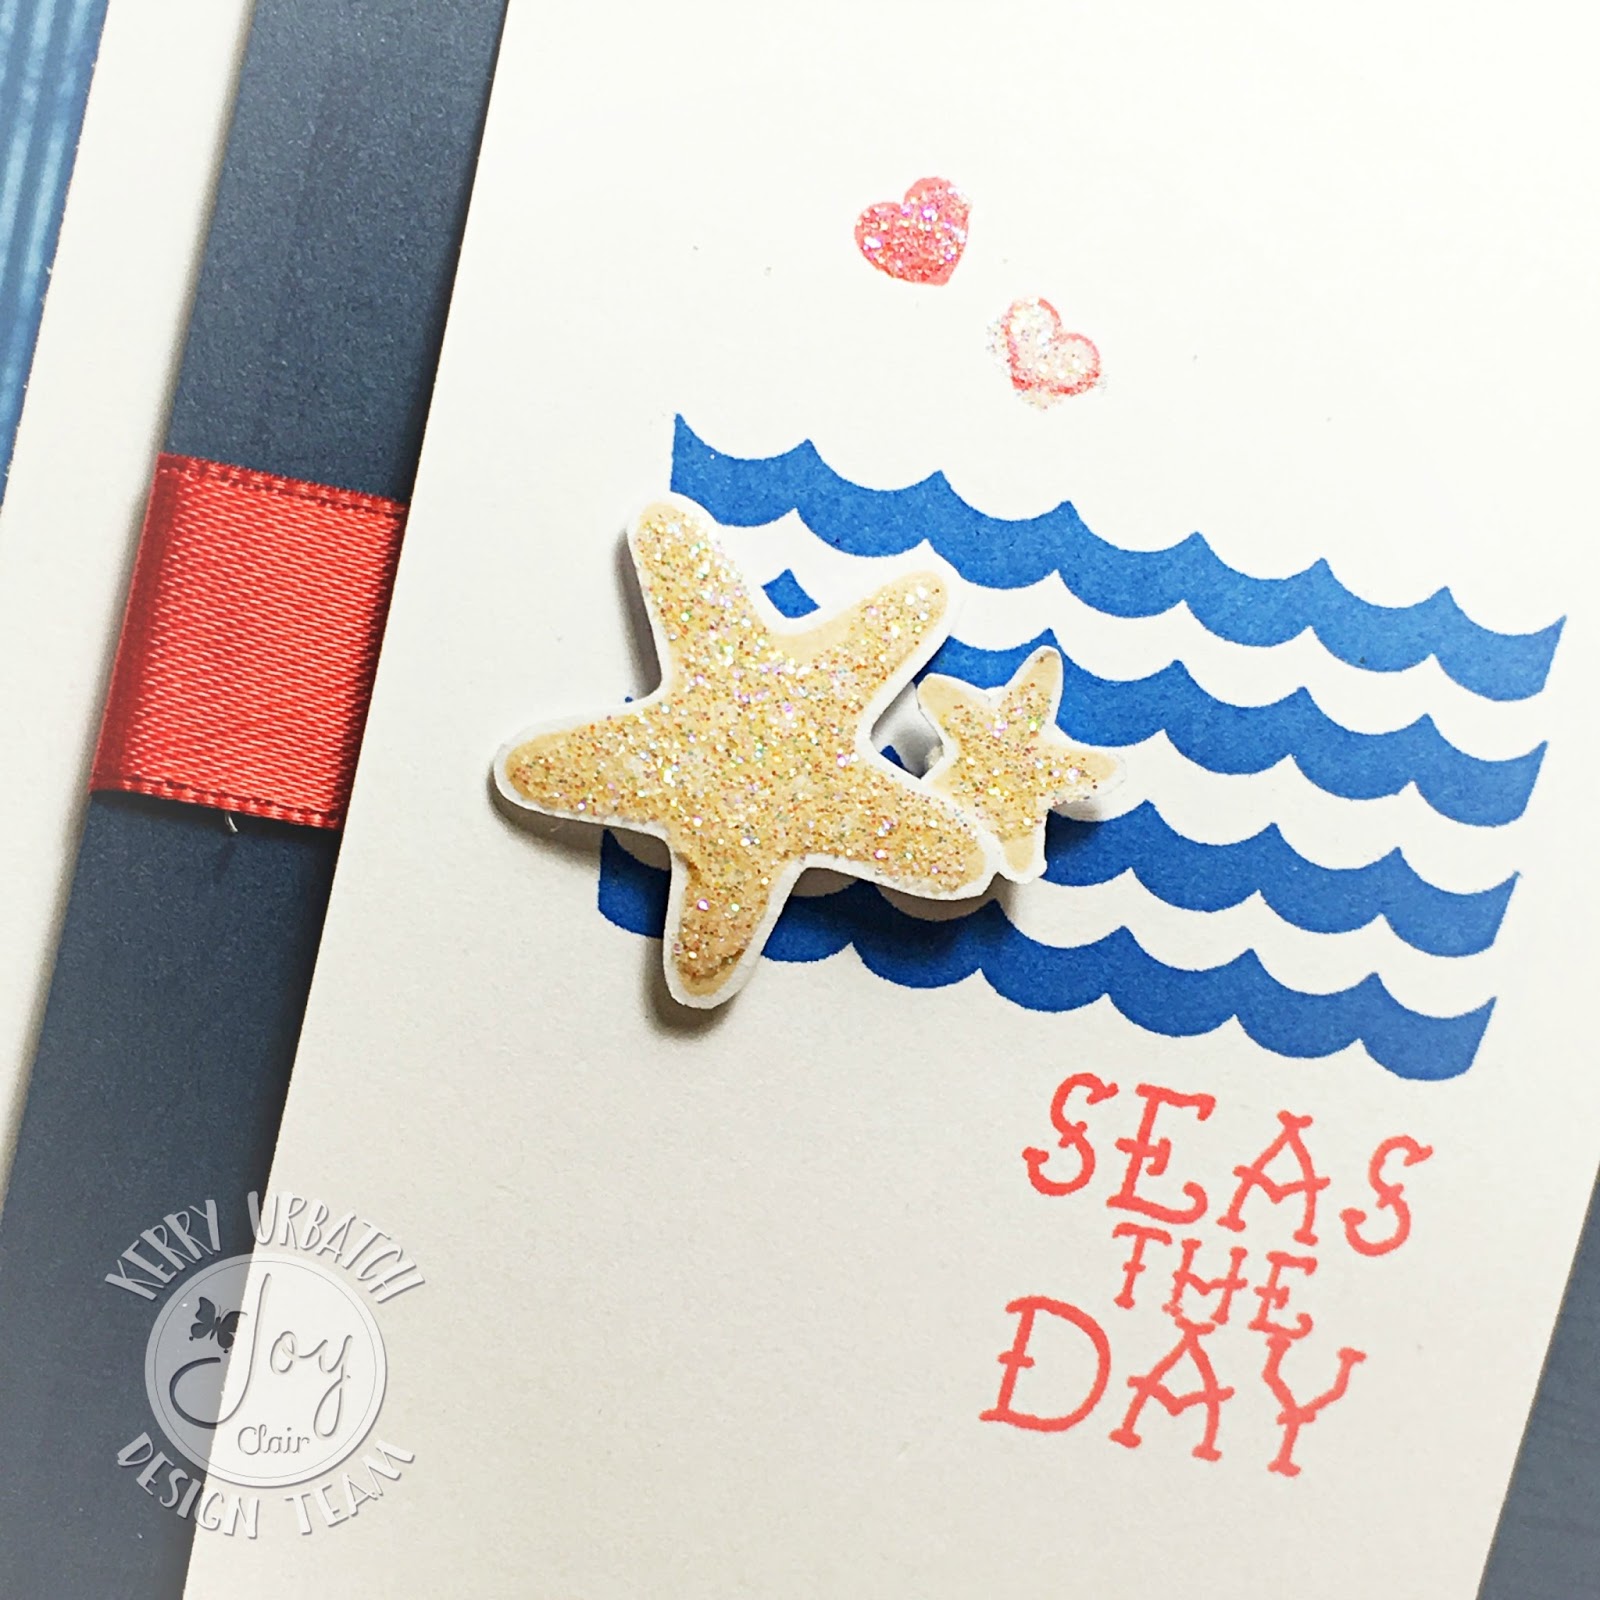
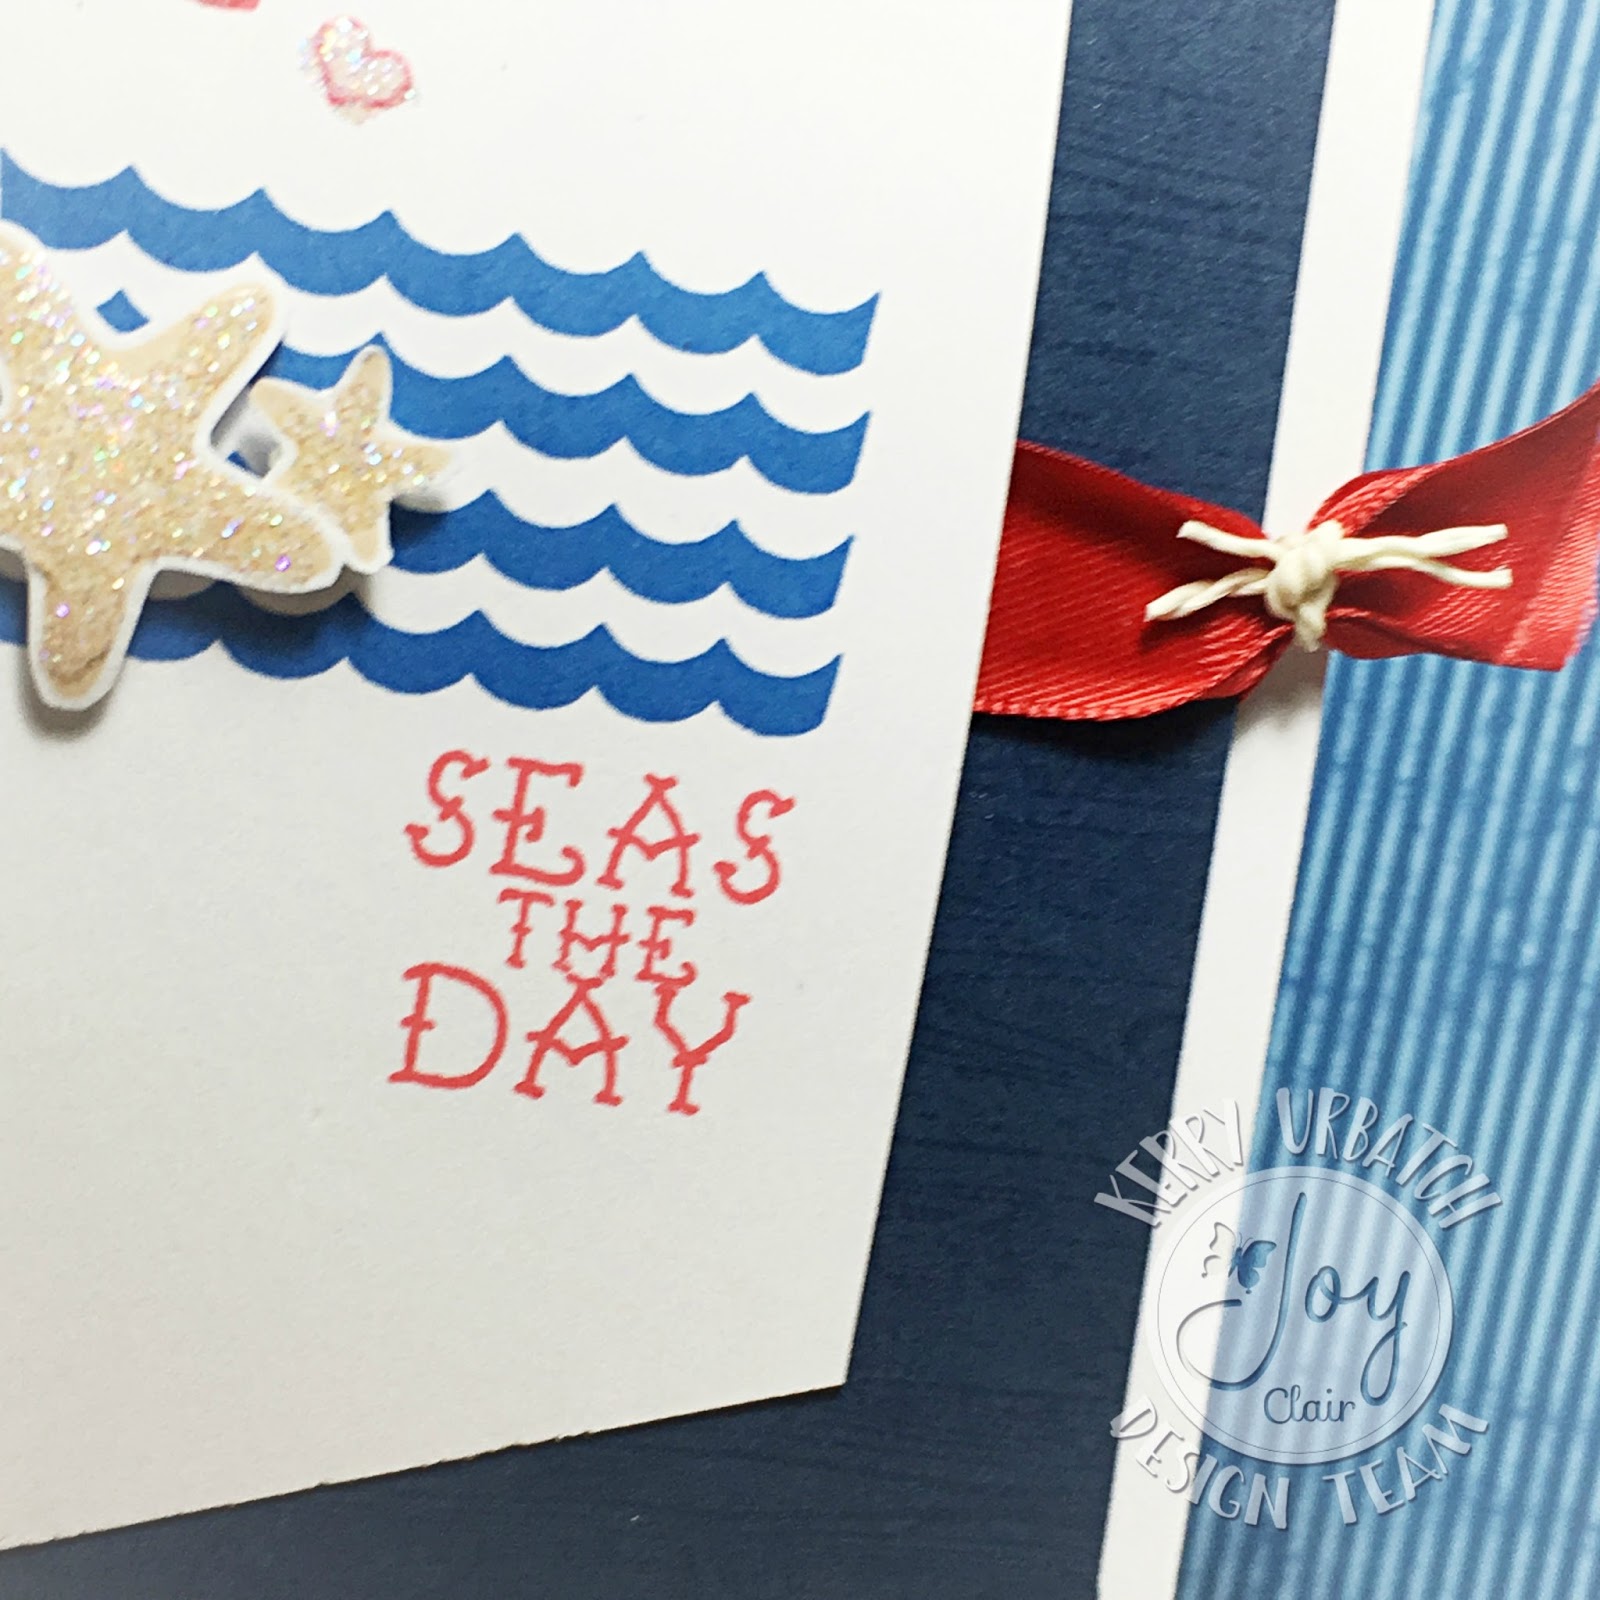
I took my inspiration from several of the pictures in the photo array.  Kraft card base (from the stack of books), A string of LOVE letters (from the photo of the girl holding the banner), Woodgrain (from the heart board in the top corner) and the red stitched strap (from the ribbon in the girls hair and attached to the key) and the spray of hearts (from the lady blowing confetti).  
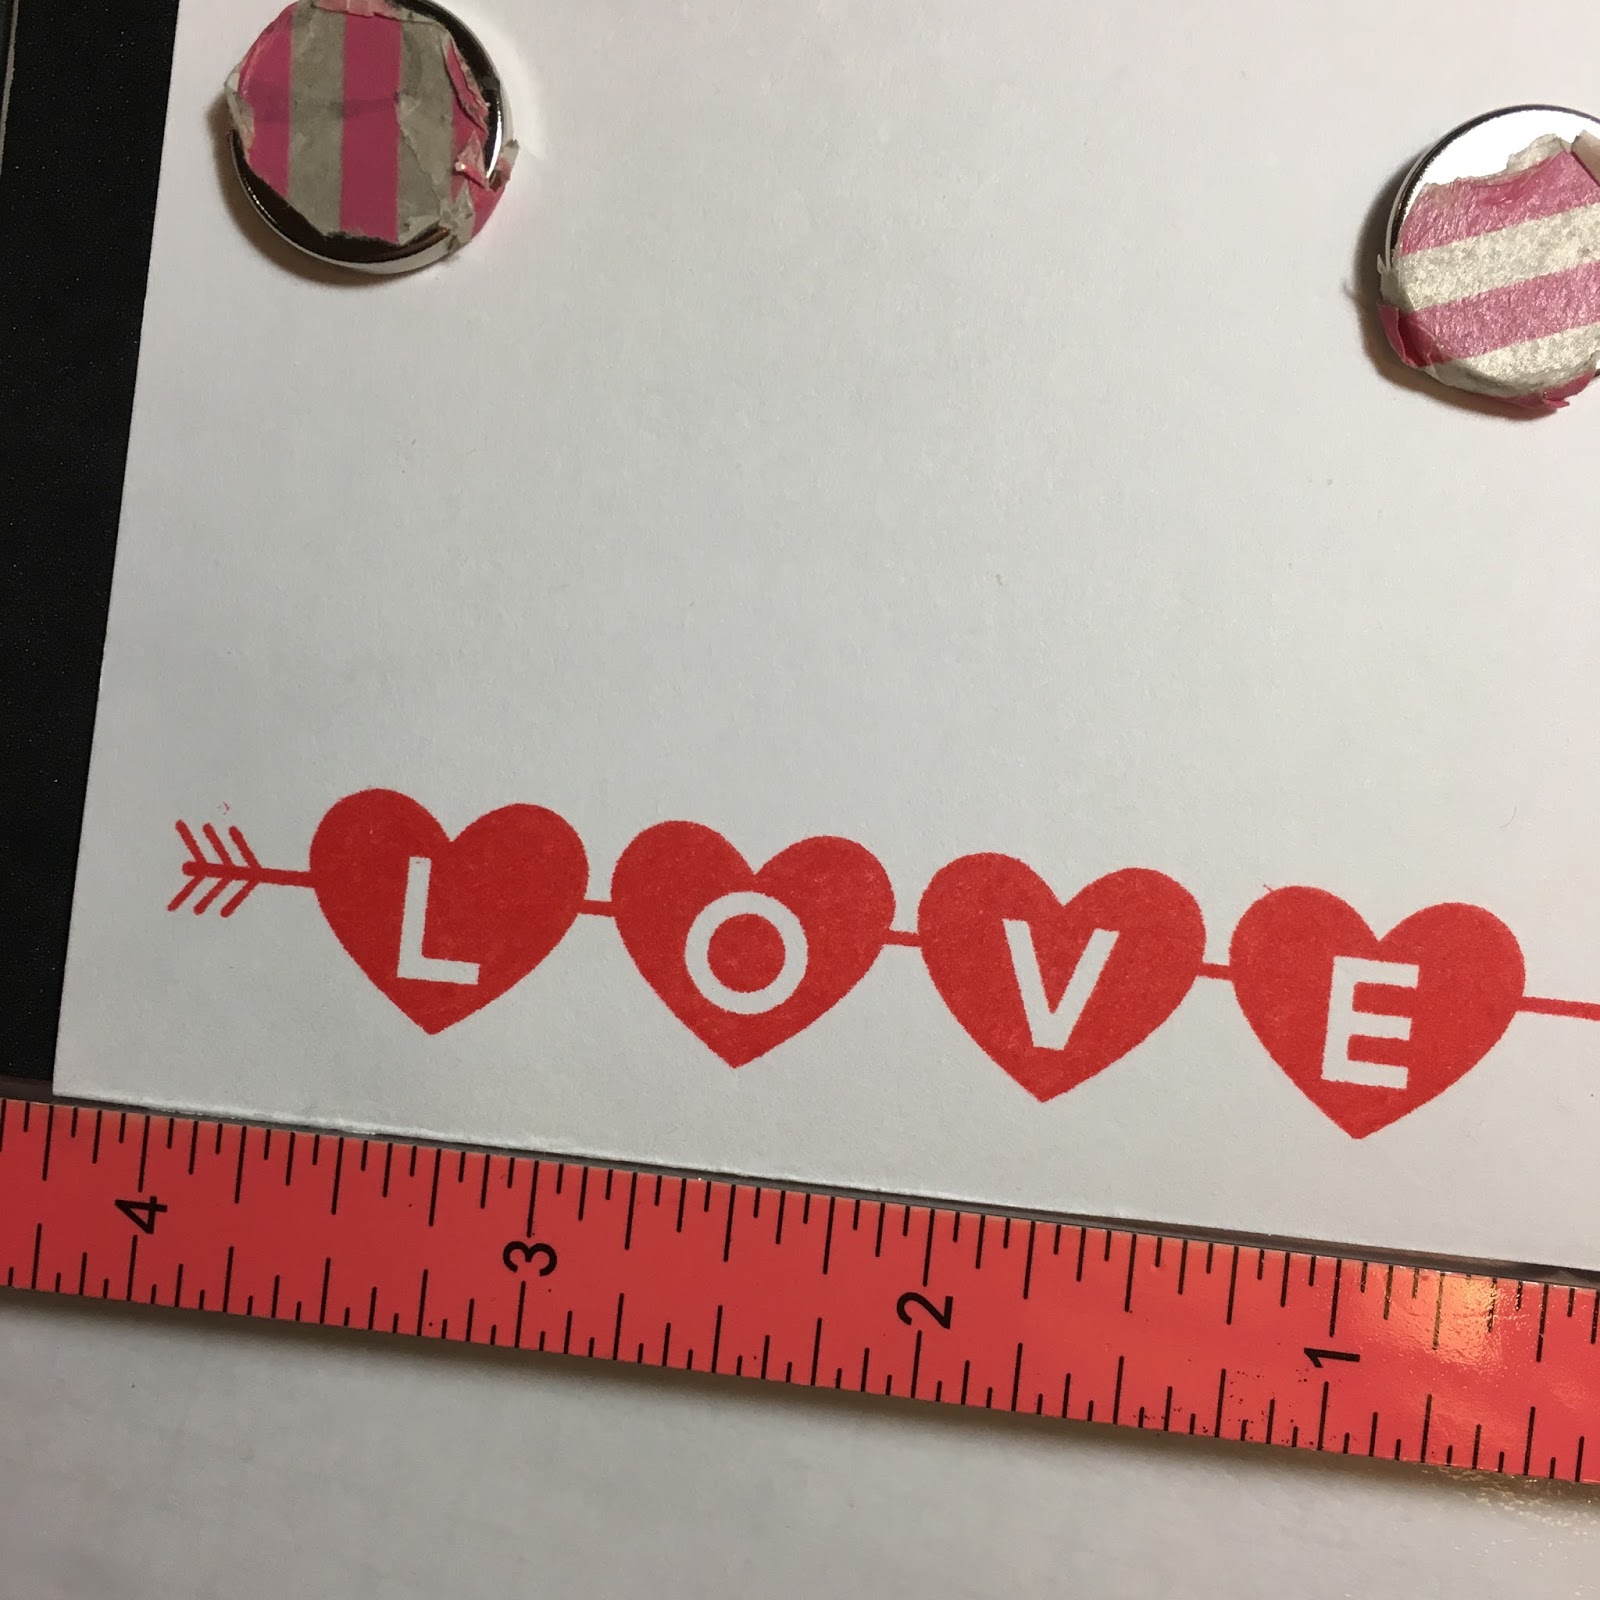
I started out by stamping the LOVE sentiment from the Valentine Background set.  I used Ladybug Red from Memento.  After stamping, I cut each heart out and punched a few holes in each heart so that I could string white thread through them like a banner.  After that, I stamped a Kraft Card base with Brown Memento ink and the Wood background stamp

Next, I stitched a red strip of cardstock with my sewing machine then attached it to the edge of the card.  I strung the LOVE banner (using foam squares to secure the hearts) and attached some golden bling on the ends to hold the thread.  

I thought it needed one more finishing touch so I stamped the heart sprays from the New Baby stamp set with black Memento ink then colored with copics.  I cut them out and attached them to one side of the banner.  To finish the card off, I added glaze to the hearts to make them shiny!

I hope you're inspired by this creation and find inspiration and encouragement to participate in this months challenge from all of the February challenge designers!  Thanks for stopping by and I look forward to seeing your pretties soon!

Friday, December 1, 2017

Pop it UP!!! Joy Clair Challenge

Hey there!  It's time for another fun Joy Clair challenge!  This time our challenge will run for TWO MONTHS so you'll have plenty of time to participate!  I hope you do find some time to play along with us as we have an awesome $25.00 gift card up for grabs for two lucky participants.  Just play along and post your card creation HERE for your chance to win!  

This month our theme is POP IT UP...Anything Goes!  While we do have some color inspiration (as seen above), you can S.T.R.E.T.C.H your creativity as long as you POP IT UP!  WOOP WOOP!  

I chose to create a card for a fellow teacher who is getting married.  Her bridal shower is being held this week and I went out shopping for the perfect gift.  Well, I got that but discovered the wrapping paper is pretty much focused on Christmas right now so I had to dig deeeeeep to find something that would work for her gift.  I went with a simple blue and white stripe holiday paper then headed to Michaels for a pop of color ribbon.  Yeah, it kinda reminded me of a nautical theme so I went with that for my card.  
While I didn't use ALL of the colors in the inspiration photo, I did use MOST of them...I used the reds, the cream and changed the green to blue...and voila!  Take a peek at my coordinating card!
I used the stamp set Seas the Day and the Wood background stamp to create my fun card.  I stamped the water (to mimic the stripes in the paper) with some blue ink from Memento and the woodgrain with that same blue ink.  To get a nice crisp and rich image, I used my Misti and stamped over it four times.  After that, I used the Ladybug Red ink from Memento to stamp the sentiment and the hearts.  I stamped the starfish (big guy for the groom and the little lady for the bride...He's tall and she's short) with some taupe ink from Memento.  I cut out the starfish and formed them a bit with a ball stylus and then popped them up on the card. 
I added some microfine glitter to the starfish and the hearts and then tucked some red satin ribbon under the "pennant" to finish the card off. 
Here you can see a hint of the woodgrain.  I love this background stamp because it can just lift up the blah from a plain piece of cardstock!  Love it!! I tied the ribbon with a little bit of fake rope too. 

Tuesday, August 1, 2017

This month...Layers, Layers, Layers at Joy Clair!

Hey stamping friends!  It's Kerry here and I'm excited to join the Joy Clair Design Team as we introduce the August Blog Challenge!


This month it's LAYERS LAYERS LAYERS!  Just simply use the challenge photo as inspiration for your project!  We're focusing on Layers, Layers, Layers...So go to town and join the fun!  Make sure to comment on each designers blog post and post your creation too.  One lucky participant will win a $25.00 Gift Certificate to the Joy Clair store (Check it out and make your wish list now!)

I love sunflowers so I just LOVED the inspiration photo.  I decided to use the Wood Background to mimic the lines of the petals in the photo.  I added a bit of browns to the wood to help accentuate the design.  Stamping it onto yellow cardstock helped too  To pull in the creamy yellow in the inspiration photo, I distressed the top edge of the yellow paper with white ink.  That allowed my inks and colored pencils to bleed a bit and really made the card (in my opinion).
Next up was to add the flower.  I used the flower in the Spring Time Flowers set and stamped and colored it twice then cut it out a bit so that I could "shushzzzz" up the petals.  I added a dark brown bling to the center for some added dimension and layering.
Stamping the sentiment from Hello Sentiments in a curved formation gave my inked panel a bit of whimsy and makes me smile.  I just wish I would have used my Misti to stamp it over again.  Oh well, next time!  

Thanks for stopping by and I hope to see your creation show up in our inlinkz feed!  :)

Wednesday, June 14, 2017

Flawless Funnies...

Hello there stamping friends!  Today I'm joining my fellow Joy Clair design team sisters in a fun presentation of a make-up set.  You might say:  I'm not a make-up kind of person (as I did) and wonder how in the world you could make this set work for YOU sooo...I'm here to share you how you can get a few chuckles and play along.  Hope you enjoy!
Did you laugh?  I hope so!  This is a fun little quirky card that would be perfect to send to a friend feeling down or in need of a belly laugh.  I took some liberties using the Flawless set, and you can too!  In doing so, I completely got into the zone and didn't take process step photos like I usually do.  I was so focused on trying to make this set work for me that I just completely went with the flow.
I learned in art class long ago that if you don't like an image, turn, twirl and twist the image until you see something you like.  That's exactly what I did.  The compact became some giant eyes, the blusher brush bristles became some freakin' thick lashes, the cross-hatched heart became a nose, the bottom of the lipstick case became a mouth-complete with a bumpy tongue!
I set off these images using the Wood Background that I embossed in white on a bright yellow base. Adding to the quirkified look, I punched a few holes, stapled the corners, added a few dotty strips for texture and mounted it wonky-style on some graph paper and a white card base.  Totally FUN and unexpected!
And look at how awesome this tongue turned out!

Hope you enjoyed this quirky-fun card!  Now back to the other designers who stuck to the script. LOL.

Tuesday, March 14, 2017

Be Joyful...Tuesday Throwdown

Hello there inky friends!  Today is a JOYFUL day!  Yes indeed!  Today's a snow day for me and I'm enjoying my time off from school and decided to play along with a challenge.  I'm joining the fun over at the Tuesday Throwdown!  This week, they're featuring Joy Clair as the sponsor so I thought it would be fun to ink up a cute little stamp they shared with new friends at CHA.  I wasn't able to go this year but I was surprised to find the stamp in my most recent order.  It was a sweet treat as I wished I would have received one at CHA!!!  

It was fun creating this colorful bookmark.  I used the exclusive CHA stamp as well as a hint of the Wood Background on this tag.  To color the image and the background, I lightly washed some watercolor over the cardstock.  To finish the tag off, I added some sparkle washi, some twine and a little tassel.  

As Joy Clair has a foundation in faith-based stamps and inspirational sayings, I explored my bible to find the perfect verse to accompany my new bookmark.  I happened upon Proverbs 17:20-22.  It's the perfect verse for this stamp...and a little reminder to keep joy in your heart as it is some mighty fine medicine! 

I sketched up an image on my bible page, sketched over with my Micron fineliner pen then colored with watercolors.  To finish off the journaling, I added a bit of gloss and sparkle to the hearts.