Showing posts with label New Baby. Show all posts

Friday, October 19, 2018

Joy Clair meets Therm-O-Web...

Hello there Joy Clair friends!  It's Kerry here and I'm here to share some yummy cards created with Joy Clair stamps and Therm-O-Web products.
This was my first opportunity to play with Therm-O-Web foil and I wanted to play and explore with it.  I didn't want to use the most usual stenciling and plain image transfer-and wanted to stretch my exploration a bit more beyond the traditional applications.  Through my exploration, I discovered my favorite foiling technique...I'm not sure it's a well known technique, but it's one I loved to use.  
To create my first card (Donuts anyone?), I applied some DecoFoil Transfer Gel to the Sprinkled with Love donut stamp and stamped all over some paper.  After I let the paper dry, I foiled the image as normal in my cheap Scotch laminator.  After I peeled off the foil, I set that page aside and took another piece of cardstock.  I brushed some Transfer Gel onto the paper with a paintbrush and then applied the foil that I had previously used.  I ran it through my machine and what came out was a gorgeous brushstroked masterpiece.  I love how the rainbow foil looks distressed and you can still see the donut images.  
Mighty yummy, 'eh?  
Super deeelish!  

My next two cards were created using the traditional stenciling technique.  I used some Transfer Gel, the Abstract Circles Stencil and the New Baby stamp set.  I used my finger to apply the Transfer Gel onto the paper, then ran the paper/foil through my laminator.  After I removed the foil, I added a little sentiment and stamped the cloud/rainbow and then colored it with Copics.  
 Take a close peek at the stencil marks.  Rainbow-licious!
When I created this rainbow panel, I KNEW I had to add a little rainbow stamped image!  The New Baby set worked PERFECTLY!
So that I could make the most of my leftover foil, I brushed some Transfer Gel onto a piece of white cardstock, applied the used stenciled foil and ran it through my laminator.  I LOVE how the brushstrokes show up and the rainbow foil needed absolutely nothing else on the cardfront (I did stamp "Congratulations" on the inside.  :)
 Just look at that rainbow goodness!!  A little tilt back and forth and you can just see it shine!  
Yep!  It needed NOTHING else...I held restraint!  I sure did!  I just added some ribbon, stamped a sentiment on the inside and said THIS IS GORGEOUS! Alrighty, so now I'm in love with rainbow brushstrokes!  Yep, I need to do a bit more shopping at Therm-O-Web too!  

Thank you for stopping by today.  I hope I inspired you to think out of the box!  Have fun and GO WILD!

Thursday, February 1, 2018

Fall in LOVE...

Hello there Joy Clair friends!  It's time for the February Challenge and we're excited to share some LOVE creations to inspire you to create this month!  As with every monthly challenge, there's a PRIZE in it for one lucky participant! A $25 gift card will be awarded to one participant who hops along with us and participates by sharing a LOVELY creation inspired by the photo above.  Simply add a link to your creation on our Joy Clair Blog Post HERE

Are you ready?  Let's get started!  
I took my inspiration from several of the pictures in the photo array.  Kraft card base (from the stack of books), A string of LOVE letters (from the photo of the girl holding the banner), Woodgrain (from the heart board in the top corner) and the red stitched strap (from the ribbon in the girls hair and attached to the key) and the spray of hearts (from the lady blowing confetti).  
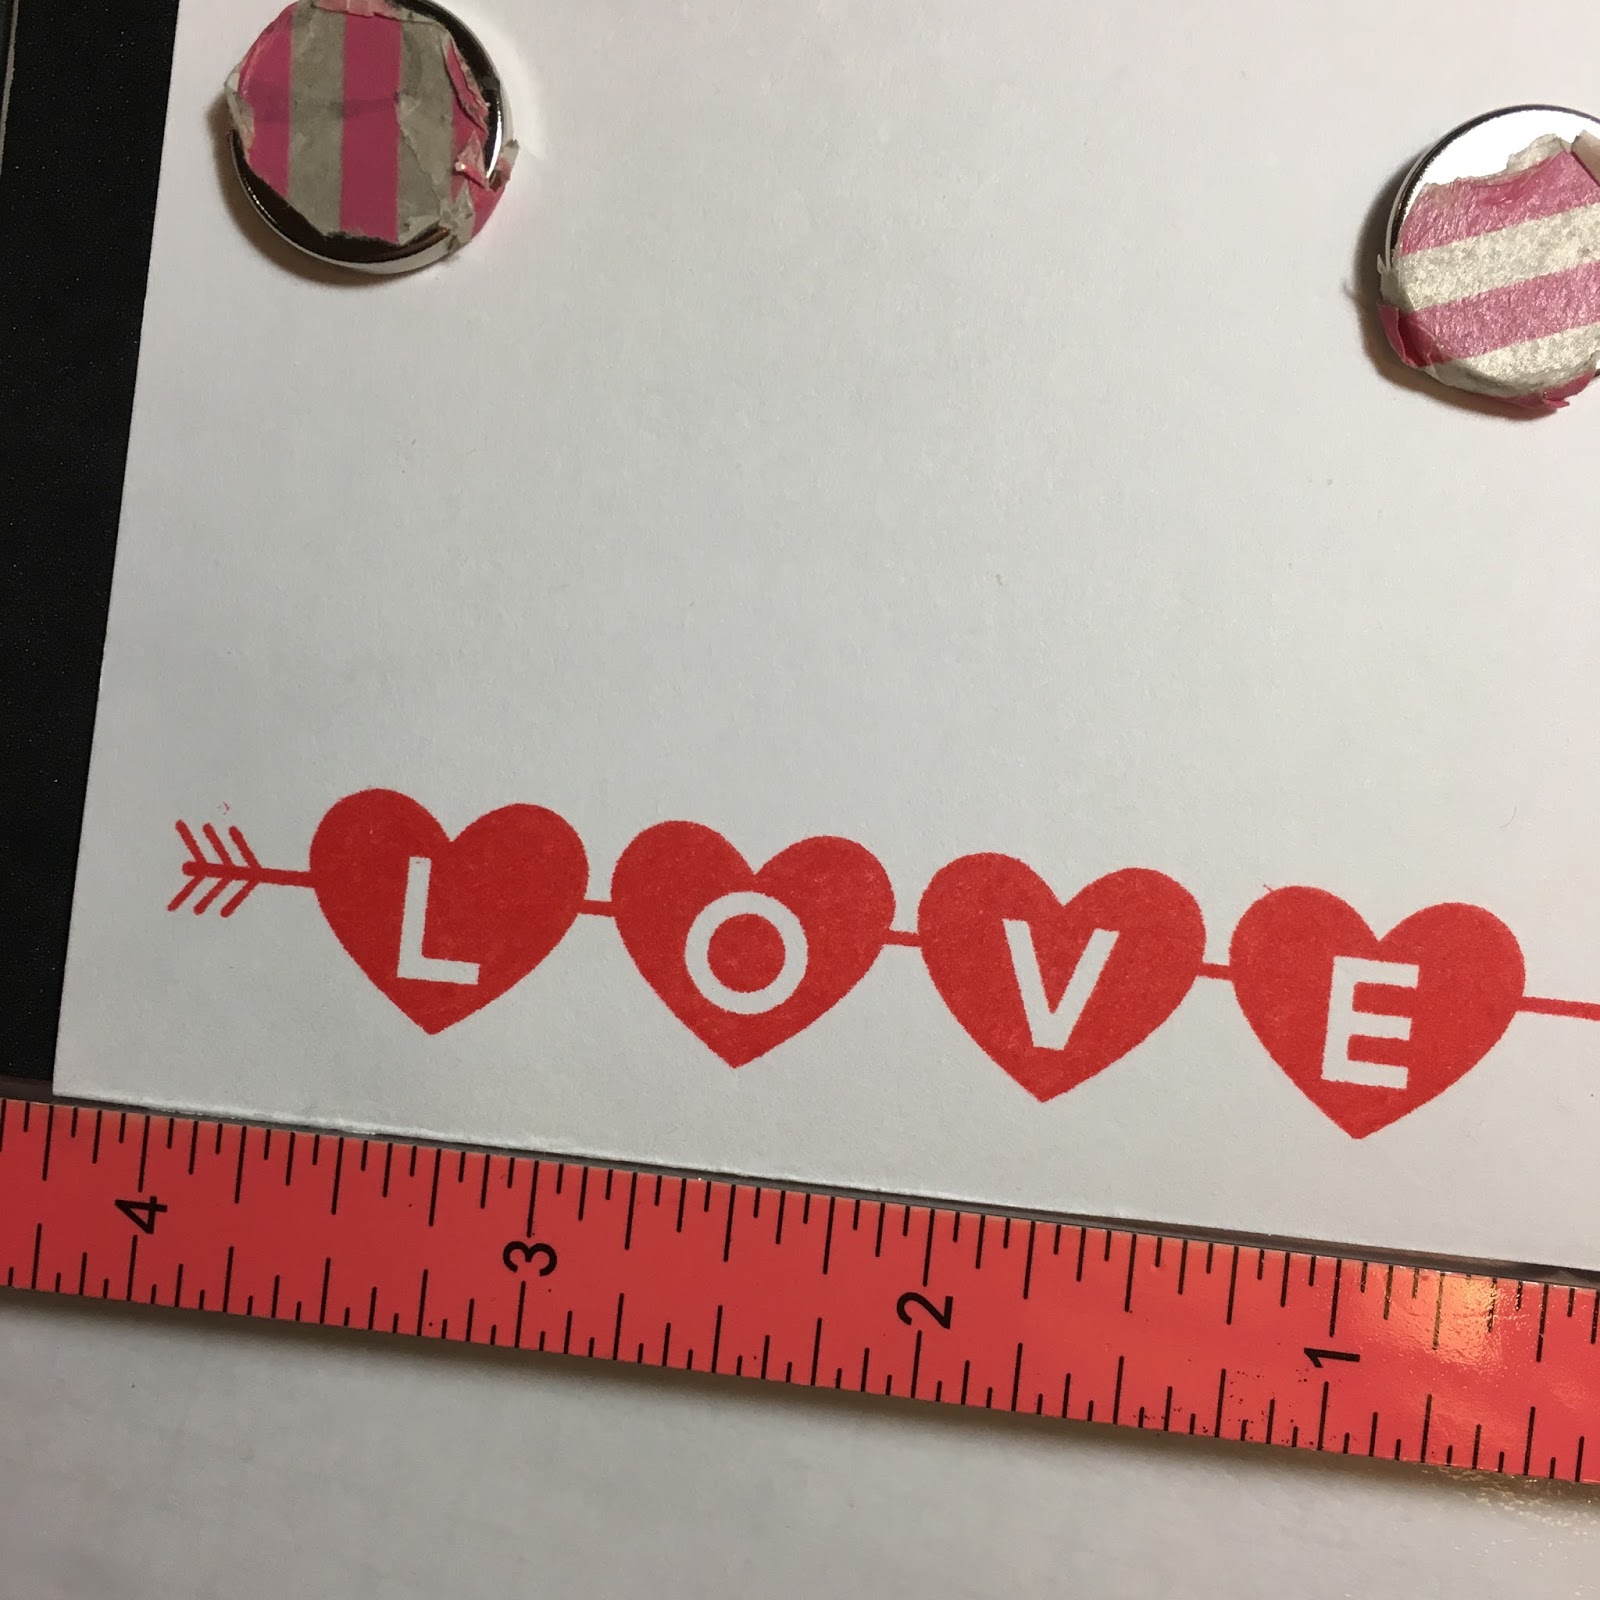
I started out by stamping the LOVE sentiment from the Valentine Background set.  I used Ladybug Red from Memento.  After stamping, I cut each heart out and punched a few holes in each heart so that I could string white thread through them like a banner.  After that, I stamped a Kraft Card base with Brown Memento ink and the Wood background stamp

Next, I stitched a red strip of cardstock with my sewing machine then attached it to the edge of the card.  I strung the LOVE banner (using foam squares to secure the hearts) and attached some golden bling on the ends to hold the thread.  

I thought it needed one more finishing touch so I stamped the heart sprays from the New Baby stamp set with black Memento ink then colored with copics.  I cut them out and attached them to one side of the banner.  To finish the card off, I added glaze to the hearts to make them shiny!

I hope you're inspired by this creation and find inspiration and encouragement to participate in this months challenge from all of the February challenge designers!  Thanks for stopping by and I look forward to seeing your pretties soon!

Monday, January 10, 2011

Hearts, Hearts, Hearts...

This week at Woodware USA we're excited to begin the short run to February 14...or Feb. 15 for me!  Valentine's Day is the day of LUUUVVVV and is set aside for LUVBUGS but for me...I look forward to the day after...A Day to CELEBRATE ME...SINGLE LADY and proud of it! 

Now, don't get me wrong, I do pass the LOVE to family and friends, students and neighbors on Valentines Day, but I get so frustrated with how us single folks are forgotten and even penalized.  I can't even go on a vacation without having to practically pay DOUBLE because I am alone...NOT FAIR! 

Enough of my ranting and raving, I'm sharing a HEART HEART HEART card with a little baby theme, just cuz I love the stamps!  LOL...

Stamp Set Used:  New Baby
For this card, I decided to add a few faux ruffles by folding some printer paper in a pleated desgin, then adding a lavender strip over the top.  The pink background paper was stamped with Pink Colorbox Chalk ink and the adorable baby in the buggy was colored with lots of different pink Copics.  I pretty much just did polka dots until I filled the entire image.  I modified the image a bit by cutting off the stick-like rods that were attached to the wheels, the little baby hair curl and the handle of the "pram".  I like it better this way.  Of course, I had to add a bit of ribbon as I don't think any of my cards are complete without some! LOL...

Make sure you head over to the WoodwareUSA blog to check out the other HEART filled creations and participate in our weekly challenge.  You just may win a fabulous stamp set at the end of the month.

Sunday, January 9, 2011

Inspiration Challenge...


This weekend I decided to take on the Weekly Inspiration Challenge at Splitcoast Stampers this week.  Anne Harada, a fellow design team member at WoodwareUSA is hosting the challenge, so I wanted to support my PEEPS...Hee Hee.  So her challenge (ISC266) is to visit this site: 
Stephen Joseph Gifts then create a stamped project inspired by one item. 

I immediately jumped to THIS ladybug pattern! 

DOOR HANGER LADYBUG picture
I loved the whimsical nature of the design, the pink and the stripes...Since I didn't have a large enough ladybug stamp, I decided to make one myself using various circles I punched out and some hand cut elements to finish it off.  I also cut the green swoosh to copy the pattern in the original design.  It was actually quite simple to make and FUN too!!!  Oh, oops...I forgot to add a white flower with a red-heart center...OOPS...I didn't see that!  Close enough, I guess. 

Wanna know what stamp sets I used?  Check out the WoodwareUSA website and the following sets:
New Baby (sentiment)
Mixed Greetings (flower in background)

Saturday, September 25, 2010

Tiny Bubbles...

Hey stampers! This week is the perfect week for a stamper like me who LOVES sparkles, bling and...WoodwareUSA! I just love sparkly things and my family knows that whatever sparkles, catches my eye.

For this week's sparkly challenge, I decided to use an adorable baby set called New Baby. As you can see from my card, it's a great baby set that's easy to color and FUN to sparkle up with Diamond Stickles. The bubble bath is just PERFECT for the challenge, don't you think?

I paired the image up with some Imaginisce Paper with tiny little sparkly bubbles. To add additional whimsy, I stitched the border in a whimsical path around the card (I love whimsy and not-so-straight stitches.) I also added some Bazzill Harvest cardstock to give a little contrast to all the blues. A BIG button tied with a ribbon finished it off.

I hope you find some time to add a little bling to your cards. If you do, please share, we'd love to see your creations.

PS...Did you hear WoodwareUSA has added 28 new sets to the website? I've got my eyes on Parcel Train, Pretty Labels, Winter Tots, and Bird Song...among others. What are your new favorites? If you happen to pick up a few sets, make sure you take advantage of the FREE INKY LINKS special!

For more inspiration or to particpate in this challenge, visit the WoodwareUSA blog.