Showing posts with label Botanical Gardens. Show all posts

Wednesday, August 3, 2011

Botanical Bliss...Heartfelt Wednesday...

 Hey stamping friends!  It's another fabulous Wednesday and boy, did I have a blast at CKC in Valley Forge.  I had so much fun working the booth and doing the Make N Take.  It felt like over the three days I saw about 1000 beautiful and unique flowers made.  Perhaps you were one of the lucky ones to get all inky and "SPARKLY!" 

Anyway, I'm back and ready to share another creation I made using one of my most favorite sets EVER:  Botanical Gardens...I LOVE the earthy images and how they can be combined with most other stamps in my collection.  As you might also notice, they work well with hand scribed sentiments.  I decided to use just a tiny bit of patterned paper and even cut out a little butterfly found on that paper too.  I trimmed the card with some yummy ribbon, as usual. 
So LOVE how earthy and serene the card looks...Simple and perfect...My sentiment says:  "Nature reflects the gifts of the Creator".  I'm always in awe of all that He has created in nature, so beautiful and perfect! 


The Details: 

HCPC 3320 Vintage Word Background Set

Other: Pink Paislee Gypsy Chick Butterfly Wings Natural Cream Cardstock Kraft Cardstock Memento Bamboo Leaves Versafine Onyx Ranger Distress Antique Linen Copic Multiliner .35 Spika Gold pen Brown Grossgrain Ribbon
Stamp fern print on natural cardstock. Write script sentiment alog stem of fern. Stamp sentiment with black ink. Scribble gold Spika on fern sparingly. Cut out butterfly from patterned paper. Attach to fern. Stamp script onto fern page using Vintage Photo distress ink. Distress with bamboo leaves ink. Attach strip of patterned paper to bottom edge. Add brown grossgrain ribbon bow and attach panel to card base.

Please stop by the Heartfelt Creations Blog to check out the other fabulous creations by my fellow DT sisters and get a SNEAK peek of the new Basket Die... Which will be officially revealed next Wednesday!!! 

I'll be back in a few days to share som more projects made using our new McGill Paper Blossoms Stylus set and various stamps in the HC Collection...


Wednesday, July 20, 2011

Heartfelt Wednesday...and here I come CKC!

Hello Stampers!  Yipee!  It's Wednesday and I'm excited to share a few projects I've been working on for Heartfelt Creations.  I LOVE the Botanical garden collection and the flowers are SO pretty.  I wonder if you had a chance to stop in at the booth during CHA.  What did it look like?  I'm so sad that I wasn't able to attend and help out in the booth, but couldn't do it...I am headed to the CKC Valley Forge next week so if you're at the convention center, stop at the booth, I'll be there lending a helping hand!  You might even see me shopping the aisles for new paper, paper, paper and fun embellishments!!! 

OK...so I've been thinking of making a badge holder for work for a LONG time but didn't ever get going on it.  Heading to the CKC convention changed that.  I knew I could wear it and dress up the badge that we get when we are helping on the floor.  It's a lot better than the plain white thingie anyday!  Actually, I made TWO badges.  My first one was made specifically for me with my first initial on it.  I couldn't send that to them!  So after I made mine, I made them one...without any personalization.  I figure, they can add the Heartfelt Creations logo or someone's name or something themselves.  So wanna see them???

Here's MINE:
My work badge will get inserted in the pouch so it can be displayed on the other side.  I hate wearing my face around my neck so this will be a great thing that I can keep it turned around and nobody will know.  I think this will be my DRESSY one and I plan on making some playful grade level ones (I'm a Fourth grade teacher) with my teaching team.  It should be FUN! 
Here's the close-up of my card.  I handwrote the company name along the edge and added the date.  The Spellbinders icon and cream initial circle as well as the tiny "blinged" flower were added to the outside of the plastic badge holder with Zip-Dry glue.  I put them on the outsided because I didn't want them to get smushed inside and I think it gives the piece added dimension!!!
Of course...Wouldn't you know it...I added some Stickles and some bling...Can't do without that!

Supplies: 
Badge Holder/Badge Reel (Wal-Mart)
Memento Tuxedo Black
Ranger Distress Ink:  Tea Stain
DCWV burgundy cardstock
Copic Xpress It Card
Copic Markers:  BV000, 02, 04, V04,05,06,12; YG05; G00, 24; E35; Multiliner .35
Tombow Mono Adhesive
Stickles
Pearls and bling

Here's the one I'm sending to Heartfelt Creations:
Oh how I wanted to keep this and not send it to HC!  I just LOVE the color scheme and how it turned out.  So pretty!!!  I decided to pull out my warm gray Copics this time.  Kinda reminds me of some Asian artwork I've seen before.  I'd love to see patterned paper come out like this! 
I wanted the gray flowers to come more to the foreground so I added some gray-purple around them.  Adding the meandering line around the piece was the perfect touch to bring everything together. 
Here's a close up of the flowers and the SPARKLES!!!
This is the flower that is on the badge reel. Covering up that mechanical thingie was a MUST and there was no better solution than to use an HC flower!!! I think I'm going to make a HUGE one with like 8 or 9 layers next time and it'll stretch almost all the way to the badge itself!!! Wouldn't that be fabulous!!
Supplies: 
HCPC 3409 Tropical Blossoms Precut Set
HCPC3407 Botanical Floral 2 Precut Set
Paper Blossoms Tool Kit
Spellbinders Rose Creations Shapeabilities
Spellbinders Classic Circles Large
Zip Dry Glue
Badge Holder/Badge Reel (Wal-Mart)
Stardust Stickles, bling, pearls
Memento Tuxedo Black
Copic Xpress-It Card
Copic Markers: W00, 1, 3, 5; BV2; R000, 14, 17; E08; Multiliner Pen .35
Bazzill Raven Cardstock
Dry Versafine Onyx Pad (for Distressing)
Tombow Mono Adhesive

So see you around, I'm heading to CKC!

Wednesday, July 13, 2011

New Release Wednesday at Heartfelt Creations...

Hello Stampers!  Yipee!!!  It's finally the day to announce the special July Release at Heartfelt Creations.  


The Botanical Garden Collection features 5 new precut stamp sets that coordinate with existing Spellbinder Rose Creations Shapeabilities and Spellbinder Foliage Shapeabilities. The Botanical Garden Collection is a great addition to every floral lover's collection of flowers.

Coordinates with the following Spellbinders Die Sets
Leave a comment on my blog or the Heartfelt Creations blog by July 19 and one lucky person will win the entire release valued at $75.00. The winner will be announced on the HC blog on July 20.

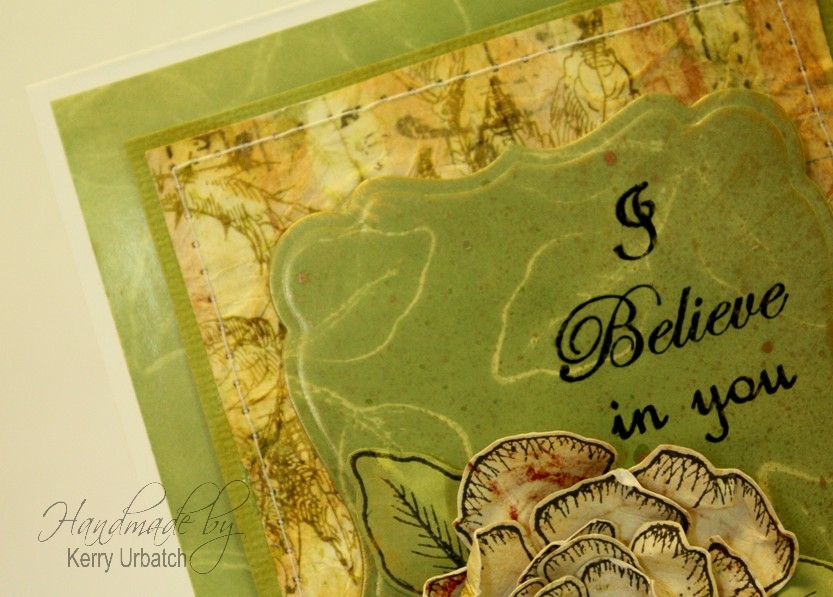
 Played around with glossy paper today.   I wanted to do a little resist stamping.  I love the effect that white ink on glossy cardstock has when it is inked over...then wiped away...so subtle and pretty. 
Another delicious flower to use in my cards!!!  This time, stamped on the leftover patterned paper used on the same card.  Gotta add some ribbon too...I thought the black check gave just the contrast it needed to bring down the formality of the card a bit...Not too stuffy! 
 Here you can see the glossy cardstock and the stamping of the leaves using white ink as a "mask".  After inking the background with a sponge, I rubbed off the white ink to reveal the non-colored image it left behind. 
This close-up shows the golden edge created with Rub-n-buff and a little shimmer from copper Tsukeniko shimmer spritz. 

And a great CHRISTMAS card using a new FERN stamp in the Woodland Fern Precut Set...I'm going to be doing this quite a bit more...I see gold, silver, green, blue, red trees in the future! 

Did some generational stamping with the tree to create some depth and a little rustic feel. Really simple layout was all it needed. 
 Here was my chance to add some of my much neglected silver and red Stickles.  I might go back and connect the dots with some doodling-to create cording like christmas lights...Maybe not. 
To finish it off, I used some antique-like clear chunky glitter sitting in my craft room.  I think I bought that stuff YEARS ago to decorate some christmas ornaments.

Thanks for stopping by!  See you soon.