Hello there crafty friends! Today I'm here to share a very special project I've been working on. Several months ago, I was intrigued by a proposal by my artsy friend Tina Walker on Facebook. She had a fabulous idea...and request to have as many crafters as possible join her in creating some beautiful artwork incorporating the same collection of ephemera. I thought it was quite a fun concept and a fabulous challenge!
Tina requested donations of ephemera and participants. I thought it would be fun to join in! I offered to send ephemera for the whole group participating but she received so many offers she didn't need my contribution. I was still thrilled to be able to participate in the challenge.
SOOO....a few months ago she mailed me a packet of ephemera...Lots of yummy goodies to incorporate into my design and there were only a few rules:
*Use ALL of the ephemera sent.
*Post your creation in the blog hop post.
Well, that sounded easy enough and I LOVE a challenge!!! Here's the loot that was inside my envelope...
(The butterfly was broken so I had to do a Tim Gunn and "Make it Work". I also opted to flip the 213 word card over for the English! I didn't receive the yummy View-master wheel but I did get a fun playing card instead.)
I thought and thought and thought for many weeks about what I wanted to create and how I wanted to incorporate the products. They seemed quite STEAMPUNK to me and I am by no means a Steampunk artist...so I thought and thought and thought some more...and then it hit me... Make a Traveler's Notebook! A little handmade notebook that I could journal in, collect creative ideas and make pretty stuff in!
I set off to get started making my project a couple weekends ago and BOOM...I got the flu and then it turned into a horrible cold. I was sick for over a week! I'm still recovering with a horrible head cold and cough, but I'm so much better than I was!!
So this Saturday, I set out to work on my creation....and I can't believe I finished it in ONE DAY!! NO pattern, no model, just GO WITH THE FLOW! My muse loves this kind of creating!
I started out with chopping up my morning cereal box... Then I created a fabric sleeve using that square of fabric from the ephemera packet and some fabric/velvet ribbon from my stash. After I was finished sewing the sleeve, I tucked the cereal box inside, stitched up the little hole on the side and headed to my craft room.
I used the stencil and gold paint to give extra dimension and texture to the fabric (front and back).
I also hand painted a bit of Liquitex Metallic Gold Ink over some stenciling to allow more dimension. After that dried (with the help of my heat gun), I set out to assemble the collage on the front.

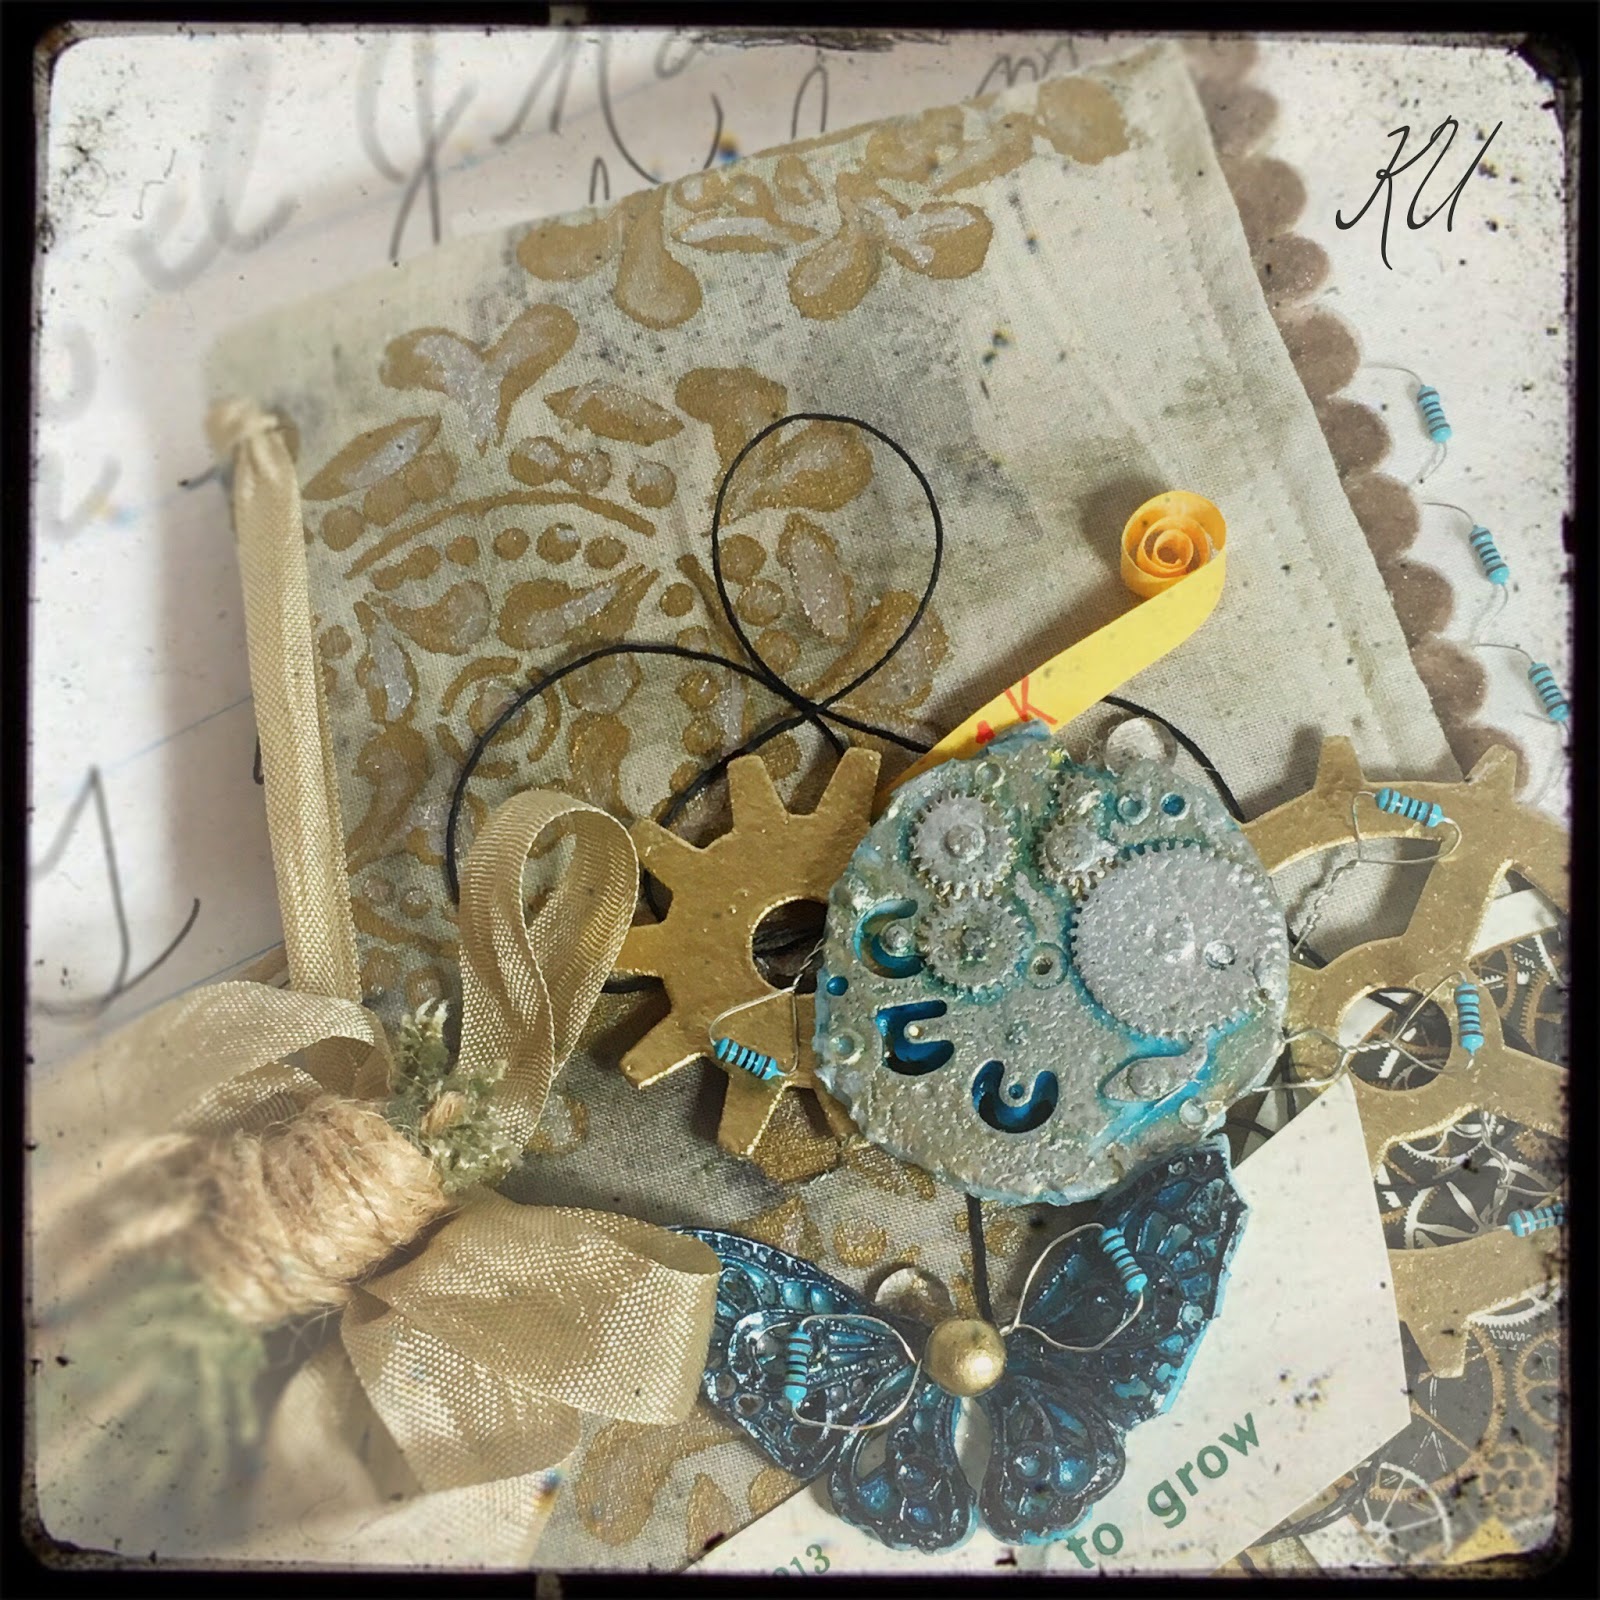
I used all of the elements in my challenge packet and had a few extra doo-hickeys for photo props. I cut up the tapestry and the little piece of fabric to make a tassel. I especially loved the little electrical doo-hickeys as they allowed for some very fine "beadery" along the edge of my piece. I rolled the little tape that they were attached to and used that as well. I also gold embossed the gear diecuts and one of the little dew drops and black embossed the broken butterfly wings. When heated, the wings became a bit flexible and I could mould it a bit to my liking. I also glued it back together with the Fabri-Tac glue. That is GOOD STUFF!!! I used it to adhere all my pieces to my fabric and even to glue my fingers together a few times. I used Fun Stampers Journey Blue Lagoon Re-inkier to paint over the top of the moulded pieces then added a bit of Silver Rub-n-Buff for some yummy contrast and aging.

I wanted to show the inside of the book a bit too. I decided to add a signature of kraft and graph paper. This is just a simple signature with the seam binding threading through the coverboard. I think it works and I'll be able to create many fun pages with the pages inside!
One final photo--- a close up of the yummy ephemera...I just enjoyed creating this project so much! I can't wait to see the rest of the challenge projects.
If you ever get a chance to take a challenge like this, I recommend you JUMP at the chance! YOU will enjoy it so much! It will stretch your muse and reinvigorate your creative imagination! :)
Thanks so much to Tina for this fabulous opportunity! Thanks also to Susan Brown for helping organize the hop, to the many contributors for your gorgeous inspiration, and to our fabulous sponsors (
Beacon Adhesives,
Amazing Casting Products and
StencilGirl) who provided some yummy products to work with! :)
Now head on over to check out the link-up! :)